
The PowerApps button onselect event is needed for when you want your button to do something. In the onselect event you will add your code to trigger an action. Without adding code in this event your button won’t be able to do anything.
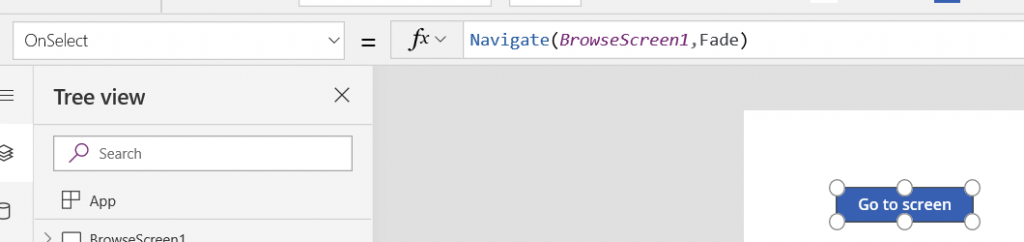
Lets take a look at some of the possible actions we can put behind a button. One of the more popular ones is to move the focus to another screen. This is possible by using the ‘Navigate’ command. In the OnSelect event of the button we can write
Navigate(ScreenName)
We can also change the text of a label from the OnSelect event. In PowerApps set field value with button can be done by using a context variable.
For example, I add the following line to the OnSelect event.
UpdateContext({Name: “John”})
This creates a screen variable called ‘Name’ and assigns the value ‘John’ to it.
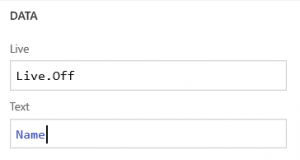
Add a label to the screen and in the text property add the name of the variable you declared.
PowerApps Button OnSelect – Change Colours & Visibility
Change a label background colour
Another thing we can do is a PowerApps change label text on button click. In this case we would use a variable value to control colours.
Behind the OnSelect event of the button I use the following code to create a variable.
UpdateContext({togglevalue: !togglevalue})
This creates a context variable called ‘togglevalue’. Then we use the exclamation mark to denote the command NOT. It turns the variable value to be the opposite of its current value. If it is true then the exclamation mark makes it become NOT true, in other words it becomes false.
Add a label and move it to the top of the screen. Expand it so that it fills the width of the screen.
Go to the properties and in the ‘Fill’ property add the following line:
If(togglevalue,Red,Blue)
Now run the application and click the button. You will see the label background colour change each time you click the button. The colour will change from red to blue and vice versa.
Change the visibility of a control
We can use the same variable to control whether a control is visible or invisible.
Add a gallery to the screen.
In the ‘visible’ property add the following line of code:
If(togglevalue,true,false)
Run the application and click the button. The gallery will become visible and then invisible each time you click the button. Again, the variable in the OnSelect event is controlling all this – it is either True or NOT True when the button is clicked.
It is quite common to trigger button events that run for example a Flow.
PowerApps Navigation
It is not just buttons that have an OnSelect event. You will also find this event on labels, text boxes, combo boxes, a gallery etc. Generally though, a button is the natural control for using the OnSelect event on.
The PowerApps button onselect event can especially be found on menu buttons, where navigation is needed to move to other screens. The onselect event is saying, when the button is selected ‘clicked’ then go and do something. That something will be determined by the code you write that sits in that event.
PowerApps button onselect change screen can be done by using the Navigate command. By selecting the onselect event you can add the Navigate command and enter the screen you wish to move to. The PowerApps onselect navigate ability makes switching between screens a breeze.
Also check: What is PowerApps in SharePoint
