
What is a PowerApps Collection
What is a PowerApps collection used for? Collections are useful for when we want an in-memory store for data. The data held in a collection can be accessed from any screen in our app. This is particularly beneficial because it enables us to share data between the screens in our application.
It is possible to save data in a PowerApps collection to SharePoint list data sources.
To create a collection, we would write:
Collect(CollectionName, items)
For example, if we have a selection of students that we want to add to a collection we would write:
Collect(StudentCollection, {Name:”Paul”,LastName:”Jones”}, {Name:”Sue”,LastName:”Davies”})
Add the code to the App start. The code will run each time the app loads. To see this collection in action we can add a gallery control.
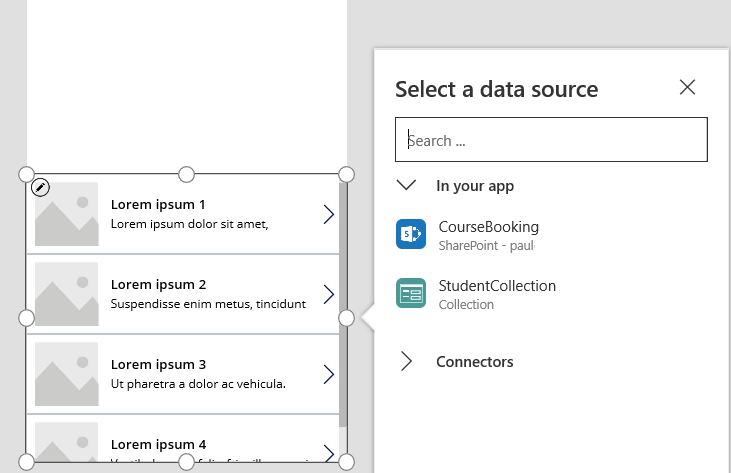
We can now see that our collection appears in our data sources list.
Select StudentCollection as the data source.
Now close the app and reload it so that the app start code runs.
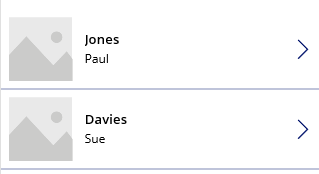
The gallery will now show the items in the student collection.
What is a PowerApps Collection Inside the App?
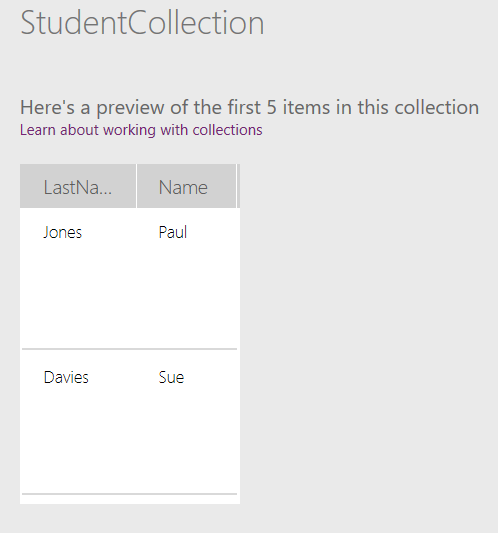
To see the items in the collection go to the menu and select ‘File’. Now select ‘Collections’. When we use the PowerApps add record to collection functionality we can see the results instantly. As you can see, PowerApps collections are useful data storage containers.
What is a PowerApps Collection – Adding Data
Now that we have our collection, we might want to think about how we can add more student names to it.
Add two labels, two text box controls and a button to the screen.
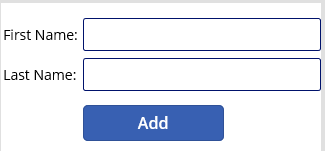
Name the text boxes to be txtFirstName and txtLastName.
On the OnSelect property of the button add the following code:
Collect(StudentCollection,{Name:txtFirstName.Text, lastName:txtLastName.Text})
This says add the values from each text box to the Name and LastName properties of the student collection.
Now run the form and enter a first and last name.
Click the button and the item you entered should appear in the gallery.
There is another command that we can use when we want to not only clear the collection, but append data to it. This is the ClearCollect command.
The syntax for this is ClearCollect(CollectionName, items)
What is a PowerApps Collection – Deleting Data
In order to delete items from the collection, we would use the Remove command as follows:
Remove(StudentCollection,ThisItem)
When we click on the gallery row of the record we want to delete, we are on the current item.
Add a button on the gallery row- I prefer to use a bin icon.
On the OnSelect event add the code Remove(StudentCollection,ThisItem)
Run the screen and try it out. You should see the item you select in the gallery get deleted.
PowerApps Update Collection Item
It is also possible to update the values held in the collection.
The command to use is as follows:
Patch(StudentCollection,Gallery1.Selected, {Name:txtFirstName.Text,LastName:txtLastName.Text})
Add this code to the OnSelect event of a new button.
Run the app.
Click on an item in the gallery and enter some data in the first and last name text boxes.
Click the ‘Update’ button.
The collection values will change and you should see this reflected in the gallery.
When to use a Collection
Collections are very powerful and a useful feature of PowerApps. I like to use a collection when I am loading data to a screen. If the Patch command has been used to save the data, then a collection can store the data that is loaded back. The controls on the screen can then refer to the item in the collection.
Also Read: PowerApps Navigate to Previous Screen
